德罗斯特

德罗斯特
首先要下载一个软件和一个插件。
软件叫GIMP for Windows 2.8 下载地址是:http://www.onlinedown.net/soft/25687.htm
插件叫Mathmap 下载地址是:http://www.tracksinthesky.com/windowsmathmapcomplete.zip
两个都下载好之后就可以安装了。
1. 解压 windowsmathmapcomplete.zip
2. 将 mathmap.exe, libgsl.dll, libgslcblas.dll 复制到 GIMP 插件(plugin)目录,默认是C:\Program Files\GIMP 2\lib\gimp\2.0\plug-ins
3. 复制 mathmaprc 、new_template.c 到C:\Users\你的用户名\.gimp-2.8\mathmap(如果没有mathmap这个文件夹的话请新建一个。)
安装到此结束。
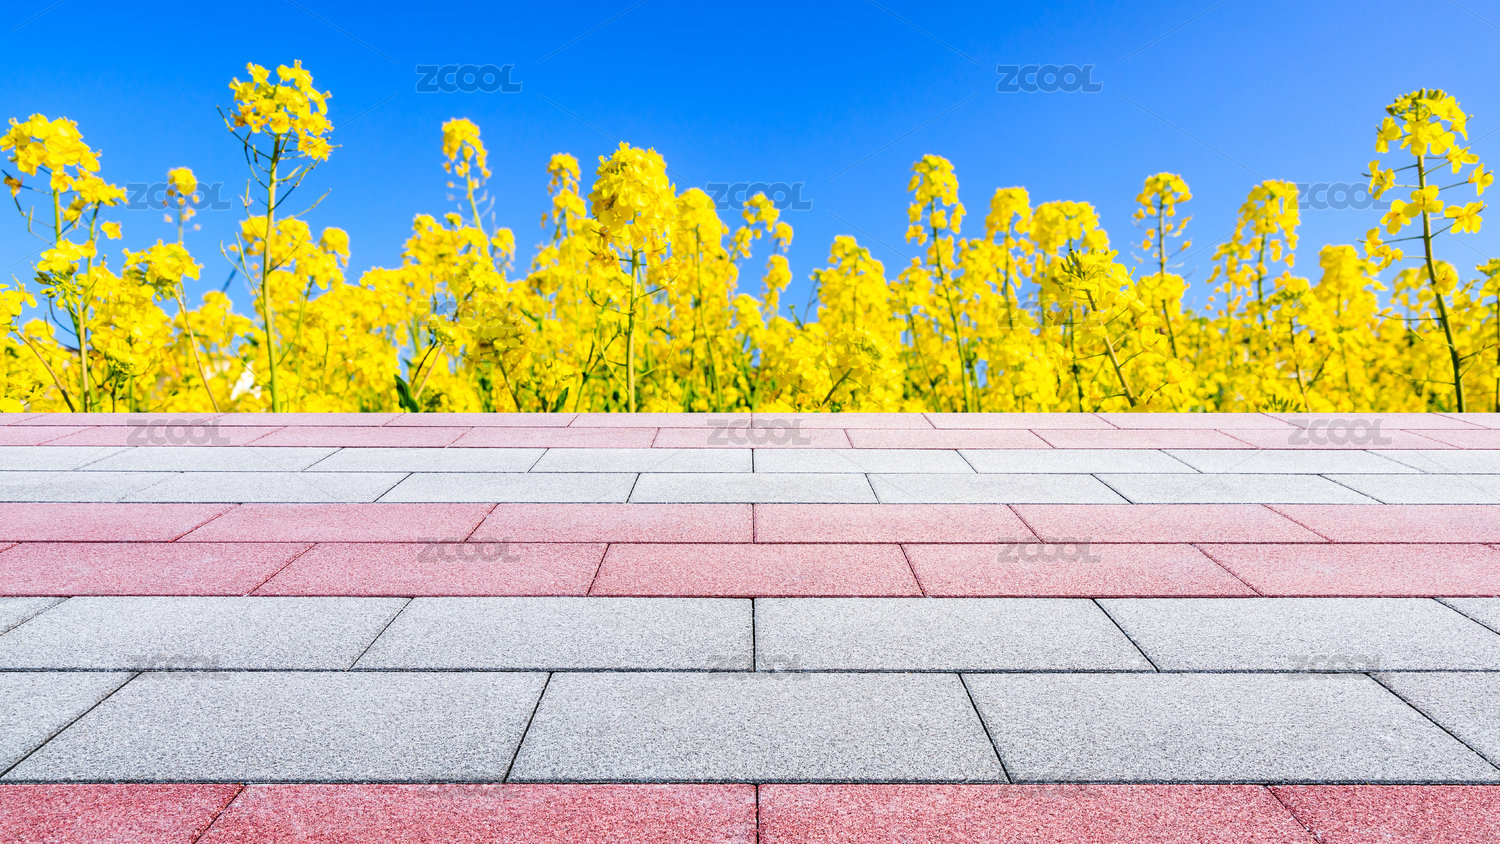
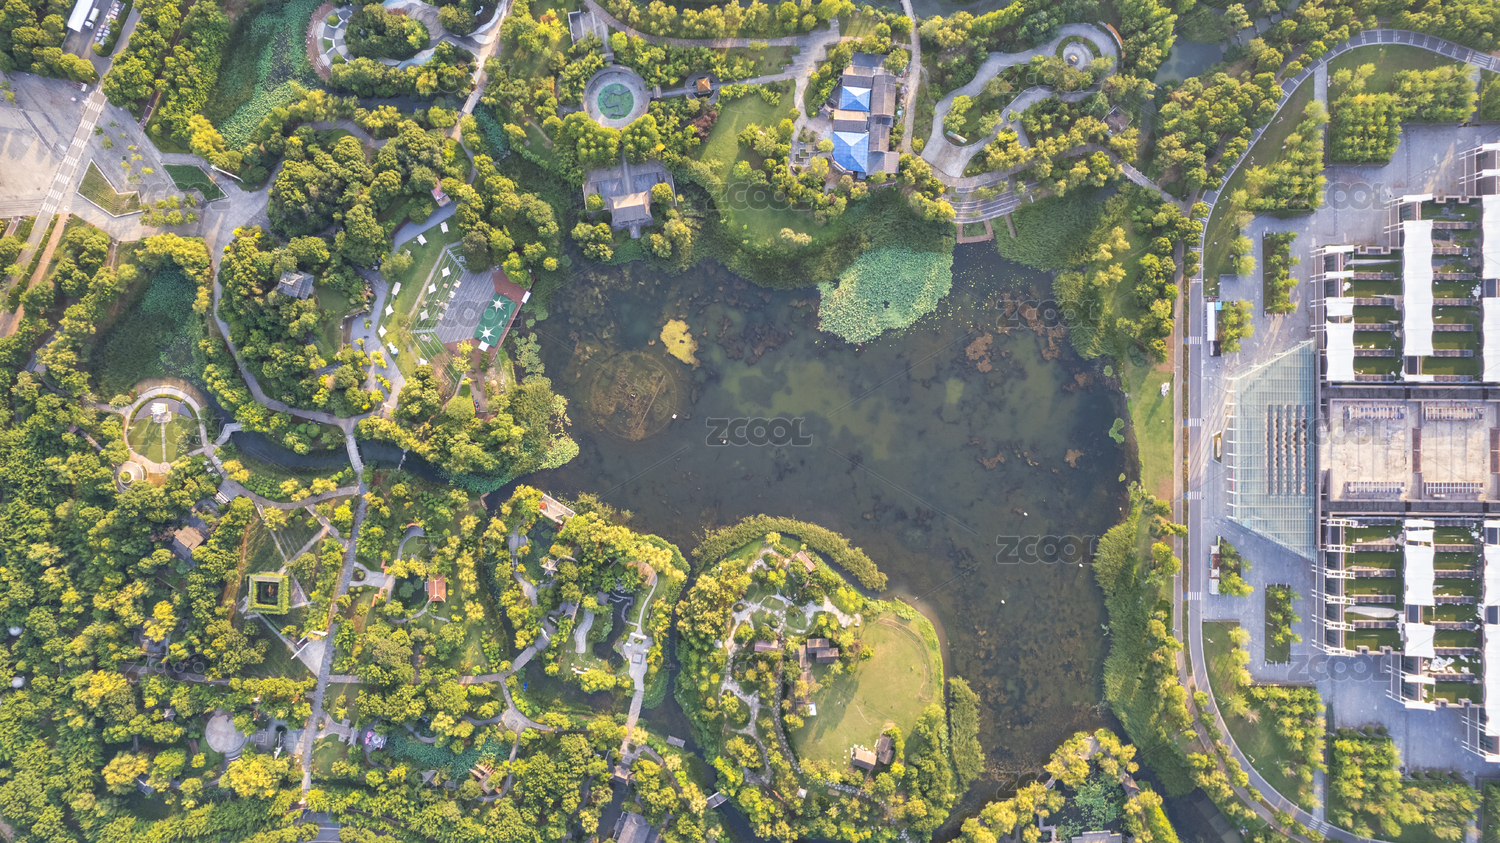
随后,找下图一张

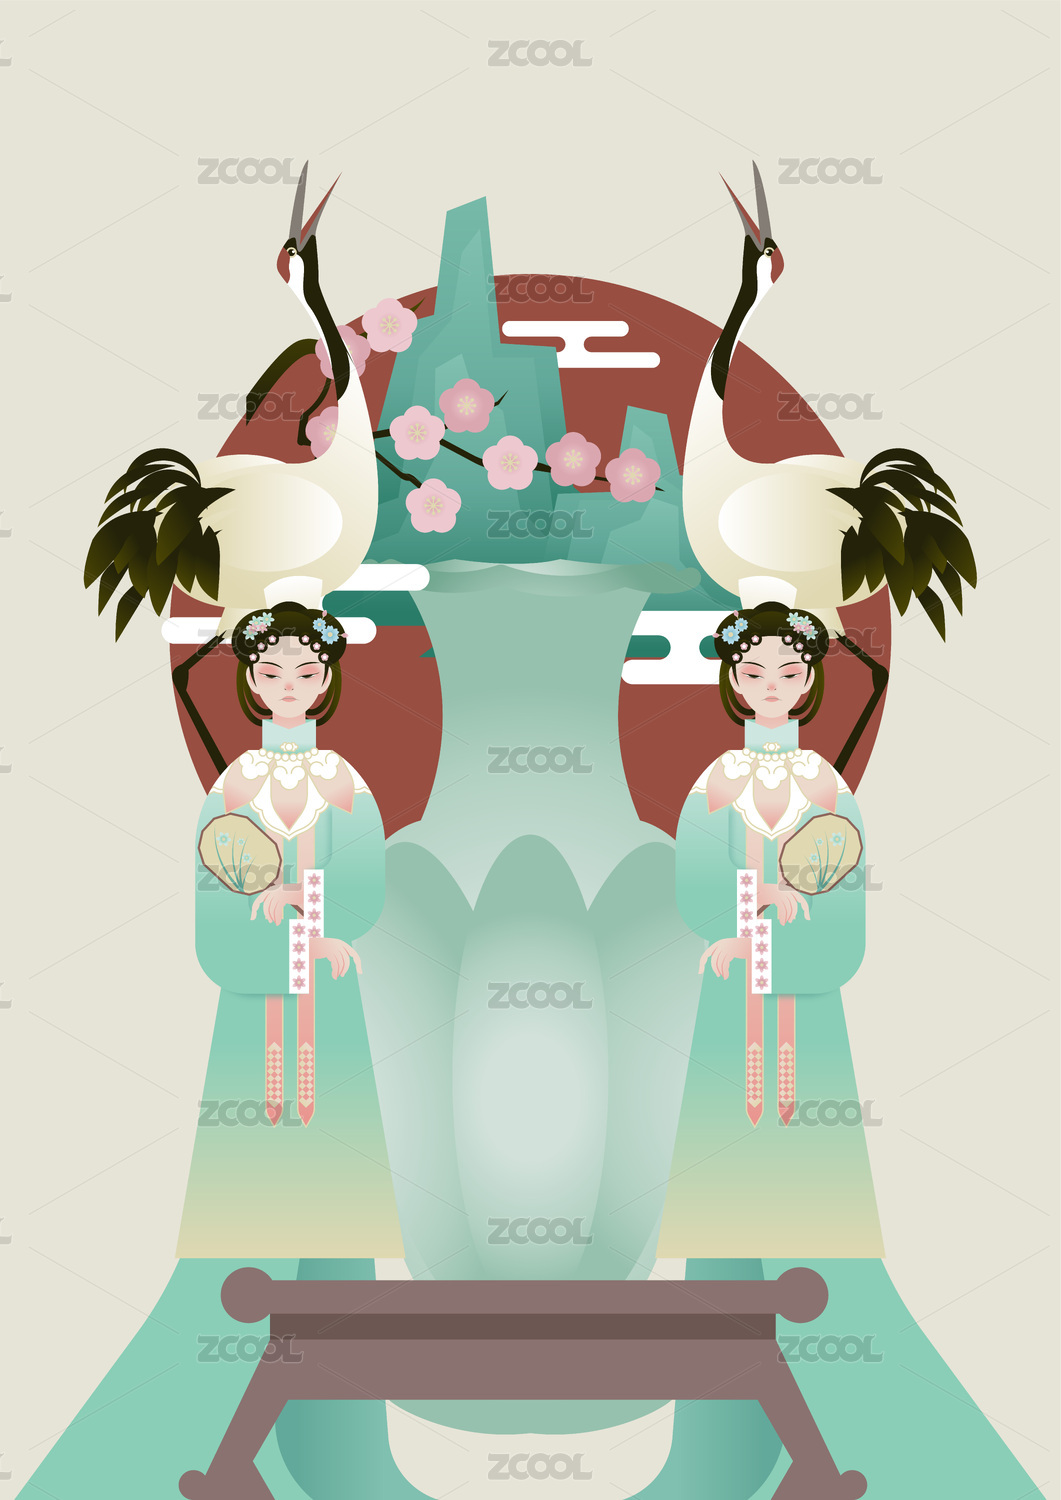
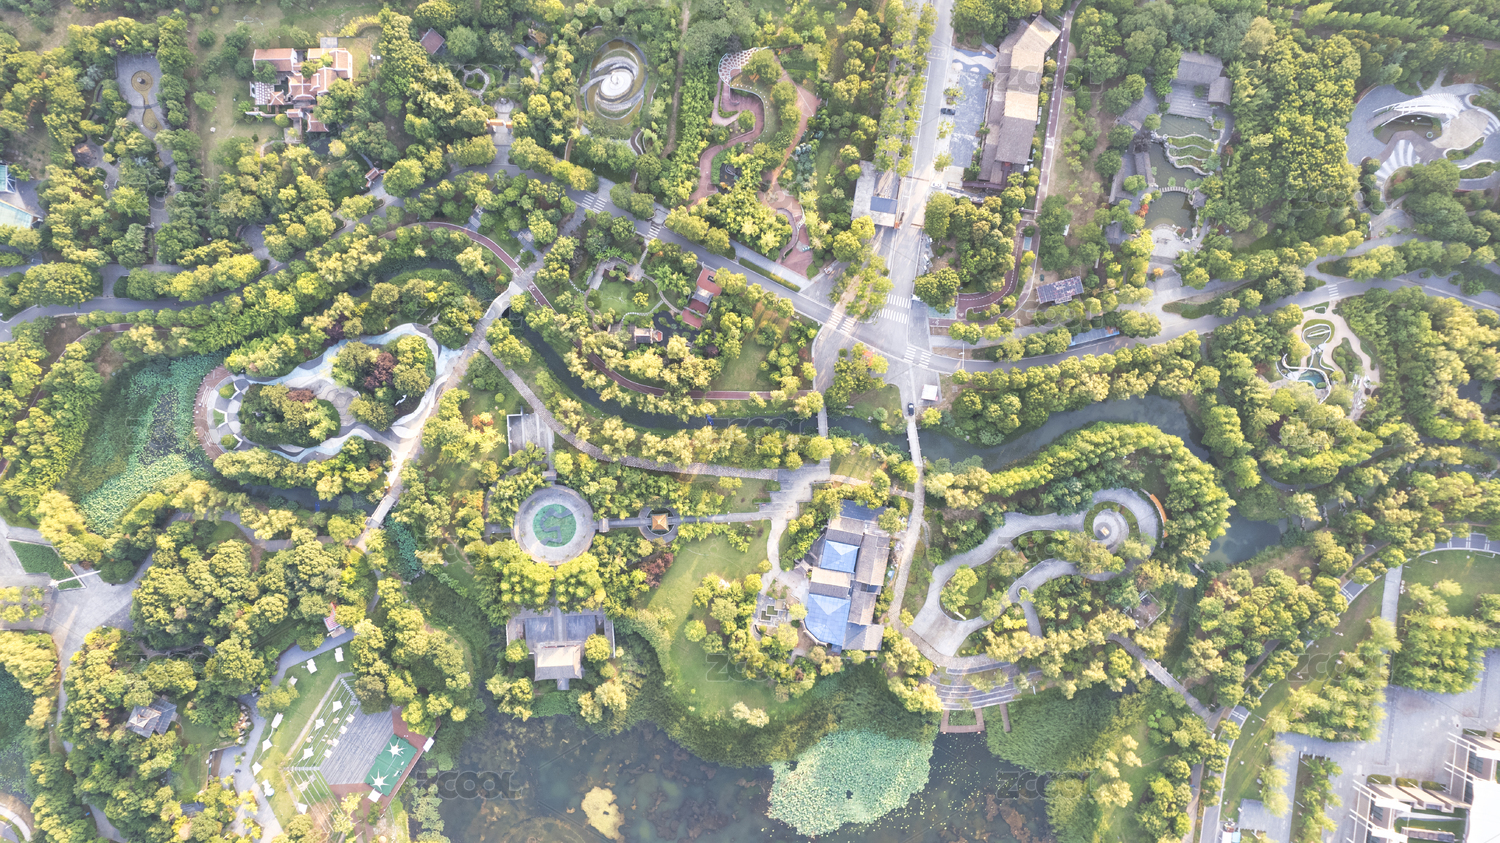
利用photoshop之类的工具将图抠成下图,并将格式保存为.PSD 格式。

把刚才做好的PSD文件拖到GIMP里面。选择菜单如下:Filters/Generic/Mathmap/Mathmap

在设置面板里(Settings)去掉自动预览项(Auto Preview)

进入Expression界面,将原有的默认代码删除,粘贴上我给你们的代码(文章最后会补上),然后就可以点预览(Preview)按钮了。

切换到 User Variables 面板,勾选 Tile Based on Transparency 和 Transparency Points In 项,然后,点左边的预览(Preview)按钮。

到这里可以看到效果基本上已经成型了,但是在边框的部位会留下黑色块,这是因为素材图片上下留的空间太少导致,这里特意提到也是为了提醒诸位在前期拍摄素材的时候要充分考虑到构图的因素,边框的四周要留有充分的空间,并且需要做边框的部分尽量在画面的居中位置,切记~~
代码:
########################################
## Droste Effect code for Mathmap ##
## Original Code by Breic (Ben) ##
## Adapted by Pisco Bandito (Josh) ##
## Version 4.0 ##
## This version for Windows and Linux ##
########################################
#You may need to alter the values of the following 9 variables to suit your image.
r1=.4; # r1 is the inner radius. r1 is greater than zero and less than r2
r2=1; # r2 is the outer radius. r2 is greater than r1 and less than 1
p1=1; # periodicity - the number of times the image will repeat per cycle
p2=1; # number of strands - the number of "arms" the spiral will have
# procedural scaling and rotation
zoom=.1; #Between .1 and 10
rotate=-30; #Between -360 and 360
# Procedural Shifting
xShift=.2; #Between -1 and 1
yShift=0; #Between -1 and 1
##
# To avoid framing problems on the largest annulus when tiling based on transparency, look
# outside (levelsToLookOut) levels to see if something farther out should cover up this pixel
# Try setting to 0 to see framing errors; 1 should be sufficient unless you have three or more
# image layers contributing to some pixel (in which case set it to 2 or more). Larger values
# slow the code down, and may lead to floating point errors.
##
levelsToLookOut=3;
############################################################
############################################################
## You should not have to change anything below this line ##
############################################################
############################################################
imageX=W; # image size, in pixels
imageY=H;
minDimension=min(imageX, imageY);
## User Variables, set these on the User Settings Tab ##
retwist=user_bool("Do Not Retwist (Leave Unchecked for Droste Effect)");
retwist=!retwist;
##
# Tiling can be based on transparency (if the input image is a tiff), or simply based on the
# radius. Using transparency, there can be protrusions between different annular layers.
# Tiling based on transparency, you can decide whether you want to look inward or
# outward from a transparent pixel. For example, with a frame you'll want to look inward,
# while for a flower you'll want to look outward.
##
tileBasedOnTransparency=user_bool("Tile Based on Transparency?");
transparentPointsIn=user_bool("Transparency Points In?");
# Miscellaneous variables
true=1;
false=0;
epsilon=.01;
##Correct the Rotation Variable
rotate=pi/180*rotate;
##
# Droste-effect code starts here
# Set Droste effect parameters
##
alpha=atan(p2/p1*log(r2/r1)/(2*pi));
f=cos(alpha);
beta=f*exp(I*alpha);
# the angle of rotation between adjacent annular levels
if (p2 > 0)
then angle = 2*pi*p1;
else
angle =-2*pi*p1;
end;
##
# Code to set up the viewport properly
##
if (retwist) then
xbounds=[-r2,r2];
ybounds=[-r2,r2];
else
ybounds=[0,2.1*pi];
xbounds=[-log(r2/r1), log(r2/r1)];
end;
xymiddle=ri:[0.5*(xbounds[0]+xbounds[1]),0.5*(ybounds[0]+ybounds[1])];
xyrange=xy:[xbounds[1]-xbounds[0], ybounds[1]-ybounds[0]];
aspectRatio=W/H;
xyrange[0]=xyrange[1]*aspectRatio;
xbounds=[xymiddle[0]-0.5*xyrange[0],xymiddle[0]+0.5*xyrange[0]];
z=ri:[(xbounds[0]+(xbounds[1]-xbounds[0])*(x+W/2)/W)+xShift,(ybounds[0]+(ybounds[1]-ybounds[0])*(y+H/2)/H)+yShift];
if (retwist) then # only allow for procedural zooming/scaling in the standard coordinates
zinitial=z;
z=xymiddle+(z-xymiddle)/zoom*exp(-I*rotate);
else
zinitial=r1*exp(z); # save these coordinates for drawing a frame later
zinitial=zinitial*zoom*exp(I*rotate);
end;
##
# The Droste effect math all takes place over the next six lines.
# All the rest of the code is for niceties.
##
if (retwist) then
z2=log(z/r1);
else
z2 = z;
end;
logz=z2; # save these coordinates for drawing a grid later
z=p1*z2/beta;
rotatedscaledlogz=z; # save these coordinates for drawing a grid later
z=r1*exp(z);
## End Droste effect math
## Tiling
if (tileBasedOnTransparency && levelsToLookOut > 0) then
if ( transparentPointsIn) then ratio=r1/r2*exp(-I*angle); end;
if (!transparentPointsIn) then ratio=r2/r1*exp( I*angle); end;
z=z*exp(levelsToLookOut*log(ratio));
end;
##
# When tiling based on transparency, color is accumulated into the colorSoFar variable,
# while alphaRemaining tells how much remains for lower layers to contribute (initially 1,
# finally 0).
##
colorSoFar=rgba:[0,0,0,0];
alphaRemaining=1;
ix=minDimension/2*z[0];
iy=minDimension/2*z[1];
color=origValXY(ix,iy);
colorSoFar = colorSoFar + (color*(alpha(color)*alphaRemaining));
alphaRemaining=alphaRemaining*(1-alpha(color));
# do we need to look inward from the current point, or outward?
sign=0;
if (tileBasedOnTransparency) then
if ( transparentPointsIn && alphaRemaining > epsilon) then sign=-1; end;
if (!transparentPointsIn && alphaRemaining > epsilon) then sign= 1; end;
else
radius=sqrt(z[0]*z[0]+z[1]*z[1]);
if (radius < r1) then sign=-1; end;
if (radius > r2) then sign= 1; end;
end;
if (sign < 0) then ratio=r2/r1*exp( I*angle); end;
if (sign > 0) then ratio=r1/r2*exp(-I*angle); end;
##
# Iteratively move inward or outward, until
# the point has radius r in [r1, r2), if tileBasedOnTransparency=false
# or until alphaRemaining=0, if tileBasedOnTransparency=true
# In the latter case, we accumulate color at each step
##
iteration=0; maxiteration=10;
while (sign != 0 && iteration < maxiteration) do
z2=z*ratio;
z=z2;
rotatedscaledlogz=rotatedscaledlogz+ri:[0,-sign*angle];
ix=minDimension/2*(z[0]);
iy=minDimension/2*(z[1]);
color=origValXY(ix,iy);
colorSoFar = colorSoFar + (color*(alpha(color)*alphaRemaining));
alphaRemaining=alphaRemaining*(1-alpha(color));
radius=sqrt(z[0]*z[0]+z[1]*z[1]);
sign=0;
if (tileBasedOnTransparency) then
if ( transparentPointsIn && alphaRemaining > epsilon) then sign=-1; end;
if (!transparentPointsIn && alphaRemaining > epsilon) then sign= 1; end;
else
radius=sqrt(z[0]*z[0]+z[1]*z[1]);
if (radius < r1) then sign=-1; end;
if (radius > r2) then sign= 1; end;
end;
iteration=iteration+1;
end;
color=colorSoFar;
color=rgba:[color[0], color[1], color[2], 1]; # set the alpha value to 1 (it could be <1 if the loop terminated at iteration maxiteration)
#This last line is important, it returns the pixel value for the current pixel
color